Setting up Microsoft Cold Email at Scale: Step-by-Step for 50-500 Mailboxes
Learn how agencies can set up Microsoft cold email infrastructure at scale, compare manual Microsoft 365 provisioning with Inframail automation, configure domains, export mailbox credentials, warm up inboxes, and manage dedicated IP deliverability.
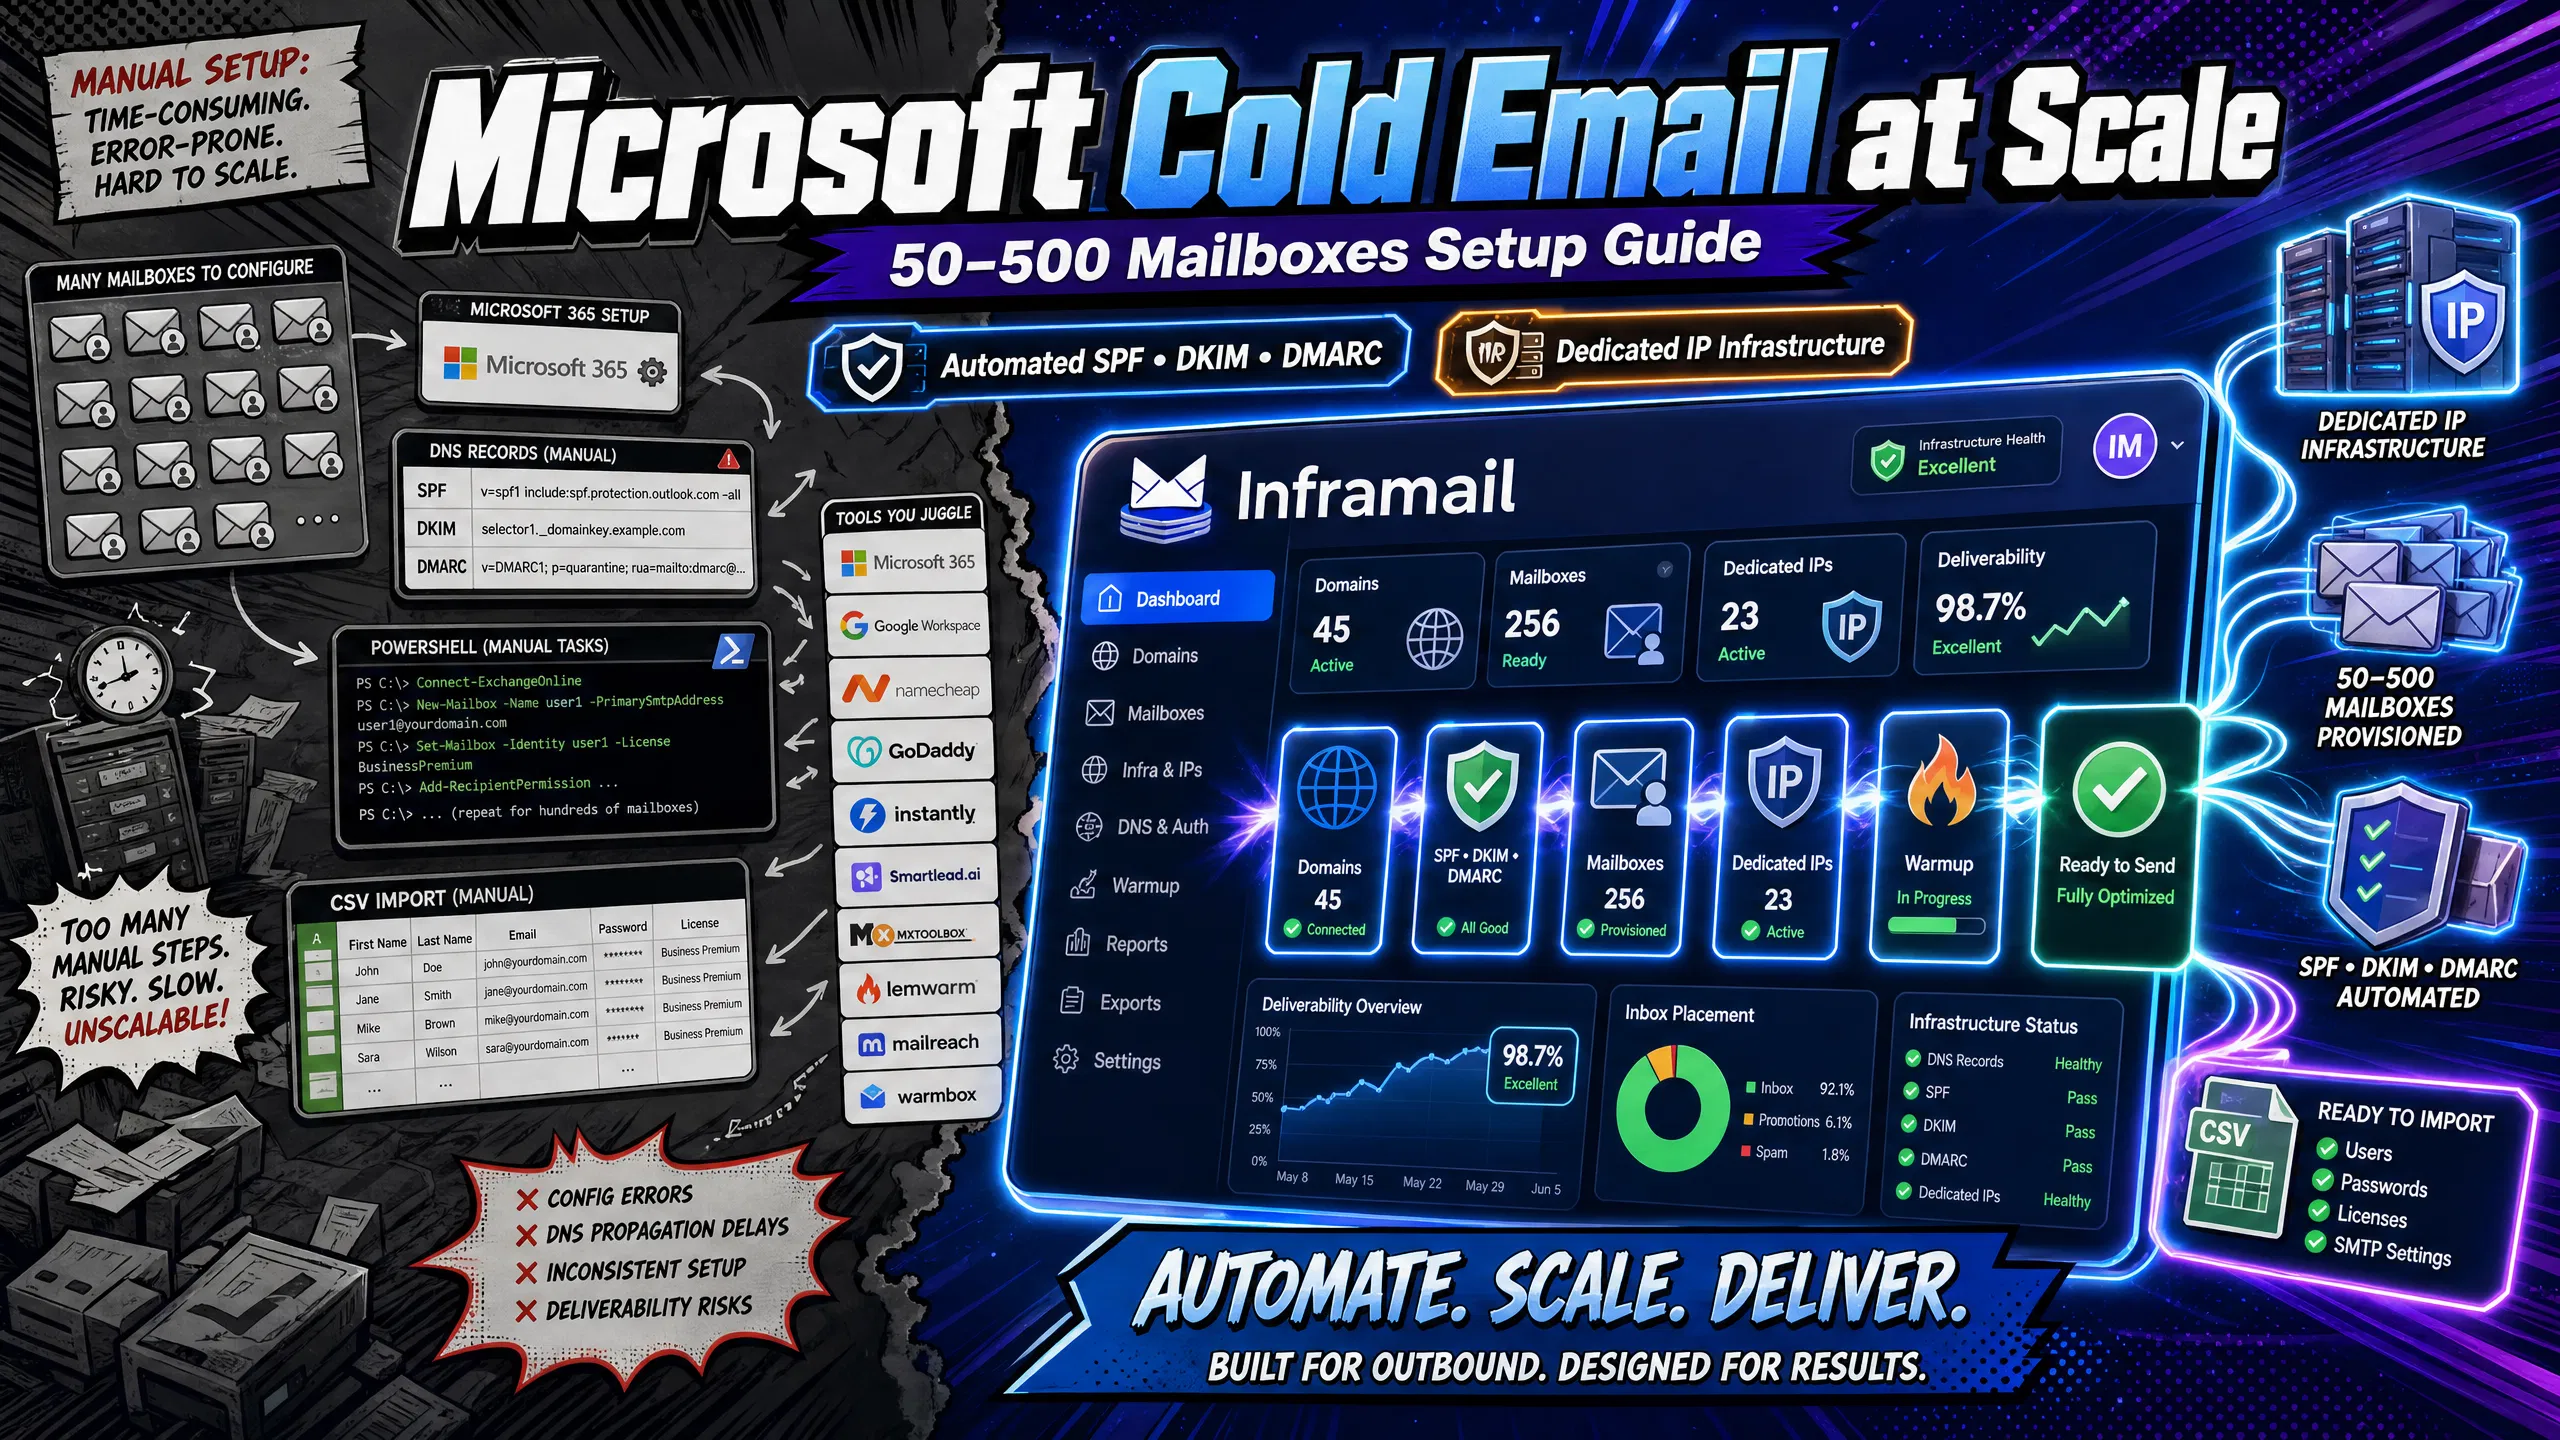
TL;DR: Scaling Microsoft cold email from 50 to 500 mailboxes requires choosing between manual per-seat licensing (at $6/user/month on Microsoft 365 Business Basic (annual commitment), 12+ hours of DNS work per 50 domains) and automated flat-rate infrastructure via Inframail ($129/month for unlimited inboxes, automated SPF/DKIM/DMARC, dedicated US-based IPs). At 50 inboxes, Microsoft 365 Business Basic runs $300/month on annual billing. Inframail runs approximately $144-$151/month ($129 plus $15-$22 in domain costs for 17-25 domains). At 500 inboxes, per-seat pricing reaches thousands per month while Inframail stays at $129/month plus domain costs. This guide covers both paths with exact steps, time estimates, and TCO math.
Scaling from 50 to 200 cold email inboxes on traditional per-seat plans increases your monthly infrastructure bill by $300/month for every 50 inboxes added at $6/user/month (annual commitment), and your DNS configuration workload scales just as fast. Manual approaches become difficult to sustain as client count grows. This guide covers the exact steps, costs, and technical requirements to provision 50 to 500 Microsoft cold email mailboxes, from domain registration through warmup and first send, and shows where Inframail's automated infrastructure eliminates the manual bottlenecks that block agency growth.
Before you buy a single domain, choose your infrastructure approach. If you take the manual path (Microsoft 365 tenant plus manual DNS), you get full granular control, but you need DNS engineering expertise and your costs and time scale linearly with inbox count.
If you choose the automated path (Inframail's Microsoft-based infrastructure), you trade that granular control for automated provisioning, flat-rate pricing, and dedicated US-based IPs. Manual DNS configuration scales linearly with domain count: 12+ hours for 50 domains, 60+ hours for 250 domains, and 120+ hours for 500 domains.
Manual setup may be feasible for smaller deployments. As you scale to managing multiple clients with 50+ inboxes each, the operations hours required for manual DNS configuration and provisioning can outpace the cost savings from avoiding platform fees. You can see a detailed breakdown of how costs compare across providers in Inframail's cold email infrastructure costs guide.
50 vs. 100 vs. 250 vs. 500 mailbox scenarios
DNS configuration time scales with domain count, and switching between registrar panels for each domain adds time and compounds error risk. Manual DNS configuration for 50 domains takes 12+ hours of active work (plus up to 48 hours of propagation time). Here is what each tier means:
Mailboxes | Domains needed (at 2-3/domain) | Manual DNS time | Inframail time |
|---|---|---|---|
50 | 17-25 | 12+ hours | Minutes |
100 | 34-50 | 24+ hours | Minutes |
250 | 84-125 | 60+ hours | Minutes |
500 | 167-250 | 120+ hours | Minutes |
At 250+ mailboxes, automated infrastructure is the most reliable way to protect launch timelines and agency margins simultaneously.
Reduce setup time: 50-500 mailboxes
The comparison below covers method, time for 50 domains, cost for 50 inboxes per month, and technical complexity. Using a 2-3 mailbox per domain ratio, 50 mailboxes typically require 17-25 domains. You can also watch this step-by-step Inframail setup tutorial to see the automated process in real time.
Method | Time for 50 domains | Cost for 50 inboxes/month | Technical complexity |
|---|---|---|---|
Manual Microsoft 365 | 12+ hours | $300+ (per-seat pricing) | High |
Manual Google Workspace | 12+ hours | $350-420+ (per-seat pricing) | High |
Inframail automated | Minutes | Approx. $144-$151 ($129 + $15-$22 in domain costs for 17-25 domains) | Low |
Your infrastructure checklist
Use this before provisioning any inboxes:
Domain naming strategy defined (brand variations of client name)
Mailbox-to-domain ratio confirmed (2-3 mailboxes per domain)
Sending platform confirmed (Instantly or Smartlead)
Warmup tool selected (Lemwarm, Mailreach, or Warmbox)
IMAP/SMTP settings documented for your infrastructure provider
Warmup buffer added to client launch timeline
Blacklist monitoring plan in place
Predicting cold email setup costs
Domain costs below are estimated using Inframail's domain pricing of $5-16 per year per domain, with a mid-range of approximately $10.50/domain/year used for calculations.
Scale | Inframail/month | Microsoft 365/month | Google Workspace/month |
|---|---|---|---|
50 inboxes | Approx. $144-$151 ($129 + $15-$22 in domain costs for 17-25 domains) | $ 300+ | $350-420+ |
100 inboxes | Approx. $185 ($129 + domain costs) | $ 600+ | $700-840+ |
250 inboxes | Approx. $240 ($129 + domain costs) | $1, 500+ | $2,300+ |
See Step 2 for a full breakdown of Exchange plan options and per-seat pricing. Google Workspace Business Starter charges $7+/user/month. Inframail charges $129/month regardless of inbox count, with domain costs as the only variable that scales. Use Inframail's sending capacity calculator guide to match your inbox count to the right plan.
Using your primary company domain for cold outreach is not recommended. A spam complaint rate that exceeds Google's published 0.3% spam threshold, or a blacklist event on your primary domain, can disrupt all your corporate email including transactional and customer communications.
Microsoft does not publish an equivalent figure, but the same isolation principle applies: cold outreach infrastructure belongs on dedicated domains, not your primary domain. You build cold email infrastructure on dedicated brand-variation domains, kept entirely separate from the client's main domain.
How many domains per mailbox?
Use 2-3 mailboxes per domain. This ratio distributes sending volume across enough domains to keep individual sending limits manageable while avoiding deliverability risk from overloading any single domain. Using this ratio, 50 mailboxes typically require 17-25 domains, and 100 mailboxes typically require 34-50 domains.
Registrar selection: Namecheap vs. GoDaddy vs. Inframail
Registrar | Cost per domain/year | API access | DNS automation |
|---|---|---|---|
Varies by TLD, check registrar | Yes | Yes (API, DDNS) | |
Varies by TLD, check registrar | Yes | Yes (API available) | |
Inframail | $5-16 | Built-in | Yes (auto SPF/DKIM/DMARC) |
Inframail purchases and automatically configures DNS records for each domain within the platform, eliminating the need to log into separate registrar panels for 50+ domains. For a full naming and domain strategy, Inframail's bulk email sending guide covers best practices for domain variation at scale.
Steps for bulk domain buying
Inframail supports unlimited domain setups. For external registrars, spread purchases across multiple days rather than registering large batches at once, as registrars monitor registration patterns. Use a business credit card, enable privacy protection on every domain, and track registrar, expiry date, and assigned inboxes in a domain inventory spreadsheet. For brand-variation naming, keep names relevant to the client and avoid patterns that look suspicious or spammy.
Microsoft 365 is built for internal communication, so you need isolated tenants and strict volume discipline to protect deliverability when running cold outreach.
Selecting Exchange plans for 50-500 mailboxes
Microsoft 365 Business Basic includes Exchange Online Plan 1 and is a cost-effective choice for cold email infrastructure. It is priced at $6/user/month on an annual commitment. Monthly billing adds a 20% premium, bringing the rate to approximately $7.20/user/month. For 50 inboxes on annual billing, that is $300/month before domain costs.
Note: Microsoft has announced a rate increase to $7/user/month effective July 2026. Exchange Online Plan 1 can also be purchased as a standalone plan if you only need email and calendar services.
For bulk license assignment, use the Microsoft 365 admin center under Users, Active Users, Add Multiple Users. The CSV requires four columns: Name, User name, Initial password, and Block sign in. Passwords must be 8-16 characters with mixed case, numbers, and symbols. Test your file format with a small batch before uploading many rows, because CSV errors at scale are common.
You need three DNS records to prove to receiving mail servers that your emails are legitimate: SPF (Sender Policy Framework), DKIM (DomainKeys Identified Mail), and DMARC (Domain-based Message Authentication, Reporting, and Conformance). Missing or misconfigured records are the single biggest cause of deliverability failures in new cold email infrastructure.
Add SPF records for cold email
For Microsoft 365, add this TXT record to each domain's DNS panel at your registrar:
v=spf1 include:spf.protection.outlook.com -all
In Namecheap, this goes under Advanced DNS, TXT Record. In GoDaddy, it goes under DNS Management, Add Record, Type TXT. Microsoft's SPF configuration guide provides registrar-specific steps if your panel layout differs.
DKIM setup in Exchange Online
Follow these steps per domain to enable DKIM in Microsoft 365:
Go to security.microsoft.com and navigate to Email and Collaboration, then Policies and Rules, then Threat Policies, then Email Authentication Settings.
Select the DKIM tab, choose your custom domain, and click "Create DKIM."
Copy the two CNAME records generated.
Add both CNAME records to your domain's DNS panel.
Return to the Defender portal and click "Enable" to activate DKIM signing.
Full steps are in Microsoft's DKIM configuration documentation.
Configuring your DMARC policy
Start with a monitoring-only DMARC policy:
v=DMARC1; p=none; rua=mailto:dmarc-reports@yourdomain.com
The p=none policy collects reporting data without blocking delivery. Review your aggregate reports over time before moving to p=quarantine, then p=reject once you confirm clean authentication across all domains. Sources including the DMARC Report guide recommend extended monitoring at the p=none phase before escalating enforcement.
See Microsoft's DMARC setup guide for the full policy progression.
Validate DNS authentication
After adding all three records, test each domain using Mail-Tester by sending a test email to the address provided. A score of 9+/10 confirms your authentication is properly configured. Mail-Tester measures content and configuration, not sending reputation - it is a setup check, not a deliverability guarantee.
Automated vs. manual DNS setup
Manual DNS configuration across 50 domains takes 12+ hours. You log into each panel, type each record, wait for propagation, and test. One typo in an SPF record across 50 domains means 50 domains failing authentication.
We automate the entire process. After you add or purchase a domain, we provision SPF, DKIM, and DMARC records automatically - no DNS panel access required. The dashboard shows provisioning status in real time, as verified by the ultimate cold email infrastructure guide.
Watch the 2-minute DNS setup video to see the automated provisioning process in action.
After you authenticate your domains, you create the actual mailboxes. For manual Microsoft 365 setups, this requires PowerShell scripts and CSV uploads. With us, provisioning is a click-based process that generates credentials automatically.
If you are running the manual Microsoft 365 path, you or your IT admin will need to configure mailboxes via PowerShell. Connect to Exchange Online:
Install-Module -Name ExchangeOnlineManagement
Connect-ExchangeOnline -UserPrincipalName admin@yourtenant.onmicrosoft.com
Then prepare your bulk import CSV. The CSV should include columns for user details, credentials, and mailbox configuration based on Microsoft's bulk user creation requirements. You can find detailed CSV format requirements in Microsoft's bulk add documentation.
After upload, verify IMAP access for a sample of created mailboxes before exporting credentials. Address any authentication errors before importing to your sending platform.
Standard email clients cannot run automated cold email sequences. Sending platforms like Instantly and Smartlead require IMAP/SMTP credentials to connect each inbox and manage sending queues. Exporting 50+ sets of credentials manually from the Microsoft admin center takes hours.
Your IT admin will need to enable IMAP access at the tenant level. In the Exchange admin center, go to Settings, then Mail Flow, then Enable IMAP. For individual accounts, confirm IMAP is enabled at the mailbox level in the admin center.
Microsoft 365 IMAP/SMTP settings:
IMAP server: outlook.office365.com, port 993 (SSL/TLS)
SMTP server: smtp.office365.com, port 587 (STARTTLS)
CSV for Instantly/Smartlead import
We generate a pre-formatted credential CSV ready to import directly into Instantly or Smartlead. The exported file maps directly to Instantly and Smartlead import formats with no manual column adjustment needed.
"I personally have over 1,000 email accounts with Inframail for one flat price. Adding all those records would have probably taken dozens of hours. Instead all records were added within 10 minutes... After that, they give you a clean spreadsheet to upload to your cold email sequencer. Adding over 1,000 accounts literally took a couple of button clicks." - Verified user review of Inframail
For Smartlead specifically, see the full Inframail to Smartlead integration guide. Treat the exported credential CSV as a sensitive file: store it in an encrypted folder, not a shared Google Drive or Slack channel, and delete the file after importing to your sending platform.
Import mailbox credentials to Instantly
Log into your Instantly account and navigate to Email Accounts.
Click "Add Account" and select "Bulk Import via CSV."
Upload the formatted credential CSV.
Instantly maps email, password, IMAP, and SMTP columns automatically.
Click "Connect All" and wait for the IMAP handshake to confirm each account.
Smartlead setup for Microsoft 365
In Smartlead, go to Email Accounts and select "Add Account via CSV."
Upload the CSV with email, password, IMAP host, IMAP port, SMTP host, and SMTP port columns.
Verify the connection status turns green for each account.
Assign accounts to client campaigns in the Campaign settings.
Troubleshooting M365 integration
If your IT admin is handling the manual Microsoft 365 path, these are the common connection failures and fixes:
Basic auth blocked: Microsoft and GoDaddy-hosted Outlook accounts may require OAuth instead of basic authentication. Use the OAuth connector option in Instantly or Smartlead.
App password errors: Generate a new app password in the user's M365 security settings and re-enter in the sending platform.
Security defaults blocking IMAP: Your IT admin will need to adjust Conditional Access policies in Microsoft Entra ID to allow legacy authentication for designated cold email accounts.
We do not include a built-in warmup tool on the Unlimited Plan ($129/month) and Agency Pack ($327/month) plans, so you need an external service to build sender reputation before running campaigns. If you prefer an all-in-one solution, our DFY Email Campaign Setup package bundles managed domain warmup as part of the service. Pricing is separate from the Unlimited Plan ($129/month) and Agency Pack ($327/month). Contact Inframail support for current DFY package pricing and to confirm what is included.
Connect each inbox to your warmup tool using the same IMAP/SMTP credentials exported from your account. Three tools work well with Microsoft 365:
Tool | Cost per inbox/month | Key feature |
|---|---|---|
Lemwarm | $24/month (billed annually) | Sender score tracking and per-inbox reputation reporting |
Mailreach | $19.50/mailbox/month | Inbox placement testing built in |
Warmbox | $15/month per inbox (Solo, 1 inbox) or $69/month for 3 inboxes | Entry-level solo plan or small team option |
See our inbox warmup guide for exact connection steps post-migration.
21-day warmup plan for 50-500 inboxes
Days | Daily volume per inbox | Focus |
|---|---|---|
1-7 | 5-10 emails | Build initial trust signals |
8-14 | 10-25 emails | Gradual volume increase |
15-21 | 20-30 emails | Approach campaign readiness |
Increase volume gradually week over week. Rapid volume increases can trigger deliverability issues and push inboxes to spam folders. Plan for an adequate warmup buffer in every client onboarding timeline to ensure deliverability is established before launching campaigns. Agencies that skip warmup create deliverability problems that take longer to fix than the warmup would have taken.
Before moving to live campaigns, check these metrics per inbox:
Spam complaint rate below 0.1% across warmup sends
Positive engagement (replies and opens) at or above the threshold recommended by your warmup tool provider before launching campaigns
No blacklist flags on MXToolbox for the sending domain or IP
Our help center explains spam detection metrics with specific thresholds for each indicator.
You must enforce strict volume discipline when running high-volume cold outreach on Microsoft 365. Exchange Online enforces a 10,000 recipient-per-day limit with rate limits per 24-hour rolling period. For cold outreach, staying below 30-50 emails per inbox per day helps keep bounce rates and complaint rates manageable.
Run a final check on every domain 24 hours before the first send: SPF record resolves correctly (use MXToolbox SPF check), DKIM signature validates via Mail-Tester, DMARC record is published, and no blacklist flags appear on any sending IP.
Consider using deliverability testing tools to test inbox placement across Gmail, Outlook, and Yahoo before launching. Send test sequences to seed addresses and review the inbox vs. spam breakdown per provider.
Prevent IP blacklists: dedicated setup
Shared IP pools can affect your sending reputation. One sender on the same IP getting flagged for spam can affect other senders sharing that IP range. Dedicated IPs isolate your sending reputation entirely, as explained in this dedicated IP vs. shared IP pools video comparison.
Our Unlimited Plan ($129/month) includes 1 dedicated US-based IP. The Agency Pack ($327/month) includes 3 dedicated US-based IPs. Our blacklist monitoring dashboard tracks domain and IP health continuously. For guidance on recovering from a Microsoft blacklist event, see our Microsoft blacklist recovery guide.
On day one of live campaigns, start conservatively at 5-10 emails per inbox and increase gradually following your warmup progression. Spread sends across the full business day using time-zone-aware scheduling in your sending platform. If bounce rates exceed typical thresholds on any domain, pause that domain and investigate list quality before resuming.
Slow DNS propagation: DNS changes take up to 48 hours to propagate globally. Use the MXToolbox propagation checker to test from multiple locations, and lower TTL on records before making changes to speed future updates.
IMAP auth failures: If you are on the manual Microsoft 365 path, your IT admin should confirm the account has an active Exchange Online license, IMAP is enabled at tenant and mailbox levels, Security Defaults in Microsoft Entra ID are not blocking legacy protocols, and generate a new app password if modern auth is required.
License limit errors: Add licenses in the Microsoft 365 admin center before bulk-creating mailboxes. We manage the license layer automatically, so you create inboxes without tracking individual license counts.
Low inbox placement: Common causes include elevated hard bounce rates (poor list quality), high spam complaint rates (copy or targeting issues), missing or misconfigured DMARC records, or sending IP or domain on a blacklist. Monitor bounce rates per domain daily during the first 30 days of any campaign using our cold email monitoring guide.
"We spent months hunting for a reliable cold-emailing stack. After repeated failures with another provider, we trialled two options—Inframail and a competitor. We chose the competitor. A month later, we switched back to Inframail. Zero issues since. Rock-solid infrastructure, sharp support, genuinely dependable" - Verified user review of Inframail
The cold email infrastructure guide covers advanced troubleshooting for agencies managing multiple client domains at scale.
Sign up to Inframail and get started today. Our Unlimited Plan at $129/month provisions unlimited inboxes on a dedicated US-based IP with automated SPF, DKIM, and DMARC configuration, ready-to-import CSV export for Instantly and Smartlead, and priority support available 16 hours a day.
How long does it take to set up 50 cold email mailboxes manually on Microsoft 365?
Manual DNS configuration of SPF, DKIM, and DMARC for 50 domains takes 12+ hours of active work, not including DNS propagation time of up to 48 hours. Automated provisioning through Inframail reduces this to minutes.
What does it cost to run 100 cold email inboxes on Microsoft 365 vs. Inframail?
At the current rate of $6/user/month (annual commitment), Microsoft 365 Business Basic costs $600/month for 100 inboxes. This rises to $700/month at the post-July 2026 rate of $7/user/month. Inframail costs $129/month for unlimited inboxes plus approximately $45/month in amortized domain costs, totaling $174/month and saving approximately $426/month at 100 inboxes today, or $526/month after July 2026.
What are Microsoft 365 sending limits for cold email?
Exchange Online enforces 10,000 recipients per day and 30 messages per minute per mailbox. The Tenant External Recipient Rate Limit (TERRL) applies to external recipients: trial tenants face a 5,000 TERRL per 24-hour rolling period, while paid tenant TERRL scales with license count. Check your specific plan at Microsoft's Exchange Online limits documentation. For cold outreach, stay below 30-50 emails per inbox per day to keep bounce and complaint rates in safe territory.
Does Inframail include an email warmup tool?
No. Our Unlimited Plan ($129/month) and Agency Pack ($327/month) require an external warmup
tool such as Lemwarm ($24/inbox/month on annual plan), Mailreach ($19.50/mailbox/month), or Warmbox ($15/month Solo plan for 1 inbox, $69/month for 3 inboxes). The DFY Email Campaign Setup package bundles managed domain warmup as part of the service. Pricing is separate from the Unlimited Plan ($129/month) and Agency Pack ($327/month). Contact Inframail support for current DFY package pricing and to confirm what is included. Plan for a 21-day warmup period before your first campaign send.
SPF (Sender Policy Framework): A DNS record that authorizes which mail servers can send email on behalf of your domain. For Microsoft 365, the SPF record includes v=spf1 include:spf.protection.outlook.com -all.
DKIM (DomainKeys Identified Mail): An email authentication method that allows receiving servers to verify the message was sent by an authorized source. Microsoft 365 enables DKIM configuration via the Defender portal at security.microsoft.com.
DMARC (Domain-based Message Authentication, Reporting, and Conformance): A DNS policy that tells receiving servers what to do when SPF or DKIM checks fail. Start with p=none to collect reports before escalating to p=quarantine and then p=reject.
Dedicated IP: An IP address used exclusively for your sending infrastructure, meaning your sending behavior alone determines that IP's reputation. We provide 1-3 dedicated US-based IPs depending on plan, isolating your reputation from other senders on shared IP pools.