
SPF, DKIM, DMARC Setup for Cold Email: Complete Guide
Master SPF, DKIM, and DMARC setup for cold email. Learn exact DNS configurations, troubleshooting steps, and how to automate domain authentication.
Updated July 13, 2026
TL;DR: Correct SPF, DKIM, and DMARC setup is mandatory for cold email deliverability, but manual configuration across dozens of domains is a major operational bottleneck. While per-mailbox alternatives like Mailforge charge per seat and use shared IP pools, Inframail automates the entire DNS setup in one click. For a flat $129/month, Inframail provides unlimited inboxes on dedicated US-based IPs, saving agencies over $250/month on infrastructure.
Every hour an agency founder spends debugging a broken SPF record in a GoDaddy panel is an hour lost on high-leverage sales activity. Manual DNS configuration for 50 cold email domains takes up to 12 hours of tedious work, and a single syntax typo can destroy campaign deliverability instantly.
You'll find exact step-by-step configuration instructions for GoDaddy, Namecheap, and Cloudflare below, plus how automated infrastructure platforms eliminate this bottleneck entirely while cutting software costs compared to per-mailbox providers like Mailforge.
Email authentication is not optional by 2026. Since February 2024, Gmail requires bulk senders to publish SPF, DKIM, and DMARC for any domain sending more than 5,000 messages per day. Microsoft enforcement for Outlook.com began on May 5, 2025. Non-compliant messages will be rejected at the SMTP (Simple Mail Transfer Protocol) level before reaching any inbox.
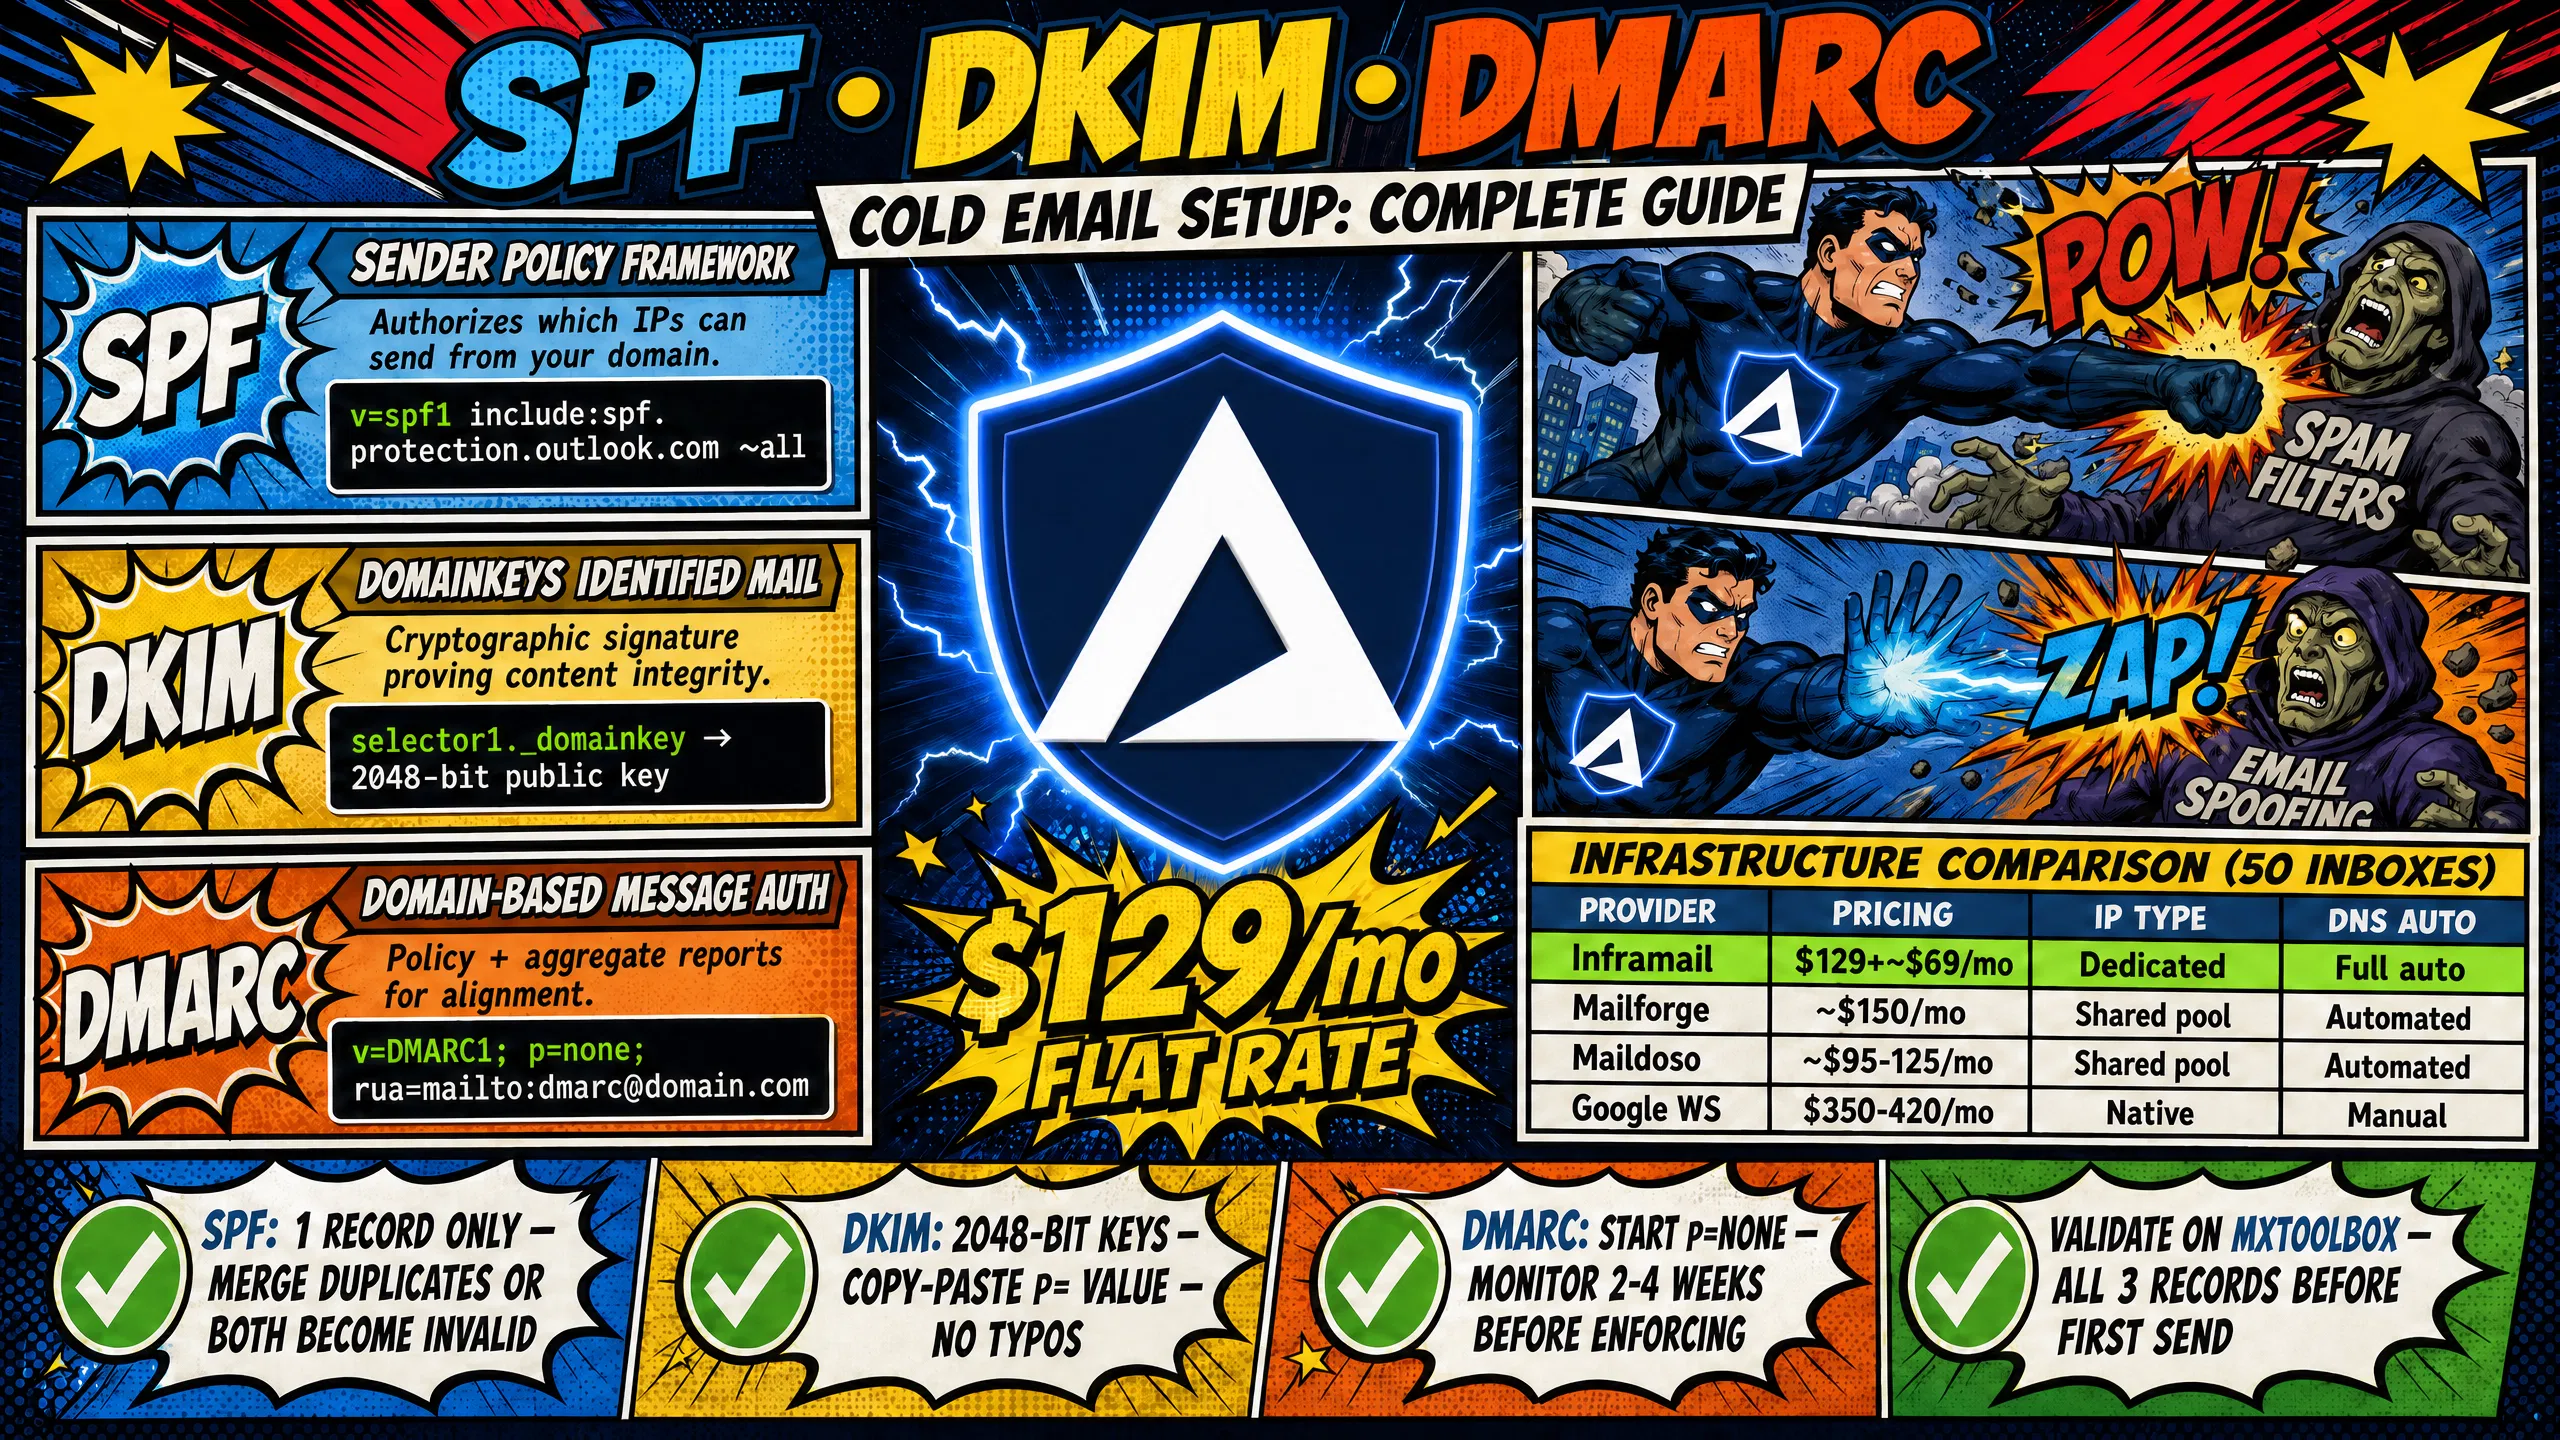
Receiving mail servers at Google and Microsoft check DNS records to verify sender identity before routing email to inbox or spam. SPF (Sender Policy Framework) confirms which IP addresses are authorized to send mail from your domain. DKIM (DomainKeys Identified Mail) adds a cryptographic signature that proves email content was not altered in transit. DMARC (Domain-based Message Authentication, Reporting, and Conformance) tells the receiving server what to do if SPF or DKIM fails, and sends aggregate reports back to you. All three records must align for an email to pass modern inbox filters cleanly.
The cold email infrastructure monitoring guide explains how a single missing record can silently route entire campaign batches to spam, often before any client complaint surfaces.
The cost of skipping DNS setup
Sending without proper authentication puts every domain on a fast path to blacklisting. Blacklisted domains trigger client churn, the single biggest financial risk for agencies running thin 15-20% net margins. Beyond blacklisting, unauthenticated mail lands in spam folders by default, destroying reply rates and wasting the warmup investment already spent on each inbox.
The financial case for correct setup is clearest when you compare infrastructure costs across providers. At 50 inboxes, Google Workspace Business Starter costs $350-420/month at $7-8.40 per seat. Inframail's infrastructure costs $129/month for the platform plus approximately $34/month in amortized domain costs, totaling $163/month. Monthly savings: $187-257. Annual savings: $2,244-3,084. (Warmup tools cost $15-50/month per inbox on both platforms and are not included in this comparison.)
Cold email infrastructure comparison (50 inboxes)
Provider | Pricing (50 inboxes) | IP type | DNS automation | Warmup included |
|---|---|---|---|---|
Inframail | $129/mo + ~$34 domains | Dedicated (1-3 IPs) | Fully automated | No (external required) |
Mailforge | ~$150/mo | Shared pool | Automated | Partial |
Maildoso | ~$95-125/mo | Shared pool | Automated | No (paid add-on) |
Google Workspace | $350-420/mo | N/A | Varies by setup | N/A |
The Zapmail vs. Inframail comparison and the cold email infrastructure costs comparison provide deeper per-platform breakdowns across seven providers.
Interpreting Mail-Tester scoring metrics
Mail-Tester scores domains on a 10-point scale based on authentication records, content quality, and IP reputation. Correct SPF, DKIM, and DMARC records are a core factor in your Mail-Tester score. Authentication failures directly reduce it. This guide covers the authentication side of that score in full.
SPF (Sender Policy Framework) lists every IP address and mail server authorized to send email from your domain in a DNS TXT record. When a receiving server gets your email, it checks this record to confirm the sending IP is approved. Without SPF, receiving servers assign low trust scores to your domain, and bad actors can send emails appearing to come from it, causing reputation damage you cannot undo quickly. The RFC (Request for Comments) 7208 specification defines how SPF lookups work at the protocol level.
Exact SPF record format for cold email
The standard SPF record format for a cold email domain sending through Microsoft infrastructure is:
v=spf1 include:spf.protection.outlook.com ~allBreaking down the syntax:
v=spf1: Declares this is an SPF version 1 record.
include:spf.protection.outlook.com: Authorizes Microsoft's sending servers for your domain.
~all: The softfail qualifier. Messages from unauthorized IPs receive a spam flag but are still delivered.
all: The hardfail qualifier. Messages from unauthorized IPs are rejected outright.
For cold email, start with ~all during setup and testing. Move to -all only after confirming all sending sources pass. RFC 7208 caps SPF DNS queries at 10 per check. Each include: statement counts toward that limit, so keep your SPF record lean.
Adding SPF records to your DNS panel
The SPF setup process is identical across all registrars. Create a TXT record with these values:
Host/Name:
@Value:
v=spf1 include:spf.protection.outlook.com ~allTTL: 3600 or automatic
Registrar-specific notes:
GoDaddy: Go to My Products → DNS → Manage Zones, select your domain, click Add Record, choose TXT type. The GoDaddy DNS help center covers field labels.
Namecheap: Open Domain List → Manage → Advanced DNS tab → Add New Record → TXT Record type. Set Host to
@and paste the record into the Value field.Cloudflare: Select domain → DNS → Records → +Add Record → TXT type. Cloudflare's Anycast network propagates records in minutes rather than hours, making it the fastest option for testing during setup.
Allow up to 48 hours for propagation, though Cloudflare propagates in minutes and most registrars update within a few hours.
Troubleshooting broken SPF record syntax
The most common SPF error is publishing two separate SPF TXT records on the same domain. RFC 7208 mandates that a domain can have only one SPF record. Two records make both invalid. Merge them into a single line.
Wrong (two separate records):
v=spf1 include:spf.protection.outlook.com ~all
v=spf1 include:sendgrid.net ~all
Correct (merged single record):
v=spf1 include:spf.protection.outlook.com include:sendgrid.net ~allCheck for trailing spaces and missing colons in include statements. Both break SPF validation silently.
DKIM (DomainKeys Identified Mail) cryptographically signs every outbound email. The sending server signs each message with a private key, and the receiving server retrieves the corresponding public key from DNS to verify the signature. This confirms that the email content was not altered between sending and delivery, and builds a positive sender reputation over time because receiving servers can verify every message's authenticity. The RFC 6376 specification defines the full technical standard.
Generating valid DKIM keys for DNS
DKIM requires a matched pair: a private key stored on the sending mail server and a public key published in DNS. For cold email, generate 2048-bit keys when your DNS provider supports them. Longer keys are harder to crack and improve trust signals. Many cold email platforms generate DKIM key pairs automatically during domain connection, giving you the public key string to paste into DNS while storing the private key on the sending server.
DKIM selectors are labels that tell receiving servers which public key to use for verification. A selector like selector1 or mail works fine, as long as it is unique within your domain. The full DNS host entry takes the format selector._domainkey.yourdomain.com.
Validating your DKIM record values
After generating your key pair, confirm the public key string in DNS matches what your sending platform expects. Copy the full p= value from your DNS TXT record and compare it character-by-character against the key string provided by your sending platform. A single missing character breaks the signature. Use MXToolbox's DKIM check to confirm the public key resolves correctly for your selector before sending any campaign mail.
Adding DKIM records to your DNS panel
The host entry format and value are identical across registrars. Create a TXT record with these values:
Host/Name:
selector1._domainkey(replaceselector1with your chosen selector name)Value: Full public key string from your sending platform
TTL: 3600 or automatic
Registrar-specific notes:
GoDaddy: Go to My Products → DNS → Manage Zones, select your domain, click Add Record, choose TXT. The GoDaddy DNS management page shows all field labels.
Namecheap: Open Advanced DNS tab → Add New Record → TXT Record. Set Host to
selector1._domainkeyand paste the full key string into the Value field.Cloudflare: DNS → Records → +Add Record → TXT. Set Name to
selector1._domainkeyand paste the public key into the Content field.
Top 5 DKIM setup pitfalls to avoid
Typos in the public key: A missing character in the
p=value breaks signature verification entirely. Copy-paste directly from your sending platform rather than retyping.Missing semicolons: DKIM TXT records separate tag-value pairs with semicolons. An entry like
v=DKIM1 k=rsa p=MIIBIjAN...without semicolons between tags will fail validation. The correct format isv=DKIM1; k=rsa; p=MIIBIjAN....Selector mismatch: The selector your sending platform uses to sign outgoing mail must match the selector name in your DNS host entry. If your platform signs with
selector2but DNS only hasselector1, verification fails on every email.Testing before propagation: DNS changes take up to 48 hours to propagate globally. Sending campaign mail before DKIM propagates produces temporary signature failures.
Using 1024-bit keys: Where 2048-bit keys are supported, use them. Shorter keys provide weaker cryptographic protection and some receiving servers now flag them as a risk signal.
The Inframail YouTube channel covers DKIM in the context of a full infrastructure setup, including how key length affects long-term sender reputation.
DMARC (Domain-based Message Authentication, Reporting, and Conformance) builds on SPF and DKIM by giving you control over what happens when authentication checks fail. It also generates aggregate reports that show exactly which servers are sending mail from your domain, making it the most powerful tool for ongoing deliverability monitoring. Without DMARC, a receiving server has no instruction on how to handle a message that fails SPF or DKIM, leaving your domain open to spoofing without enforcement.
Exact DMARC record format for cold email
The DMARC record publishes as a TXT record at the _dmarc subdomain of your domain. The starting configuration for any new cold email domain is:
v=DMARC1; p=none; rua=mailto:dmarc@yourdomain.comBreaking down the syntax:
v=DMARC1: Declares this as a DMARC version 1 record.
p=none: Monitoring-only policy. No emails are blocked or quarantined.
rua=mailto:dmarc@yourdomain.com: Sends aggregate reports to your specified email address.
The RFC 7489 specification defines all available DMARC tags and their accepted values.
Setting your DMARC policy for cold email
DMARC supports three policy levels. Choose based on your setup phase.
p=none: Start here for all new cold email domains. This collects reports without blocking any mail. Run
p=nonefor at least 2-4 weeks while confirming all sending sources authenticate correctly.p=quarantine: After confirming clean authentication, move to quarantine to route failing messages to spam rather than rejecting them outright.
p=reject: Use only after extended monitoring confirms zero legitimate mail is failing authentication. For cold email at agency scale,
p=quarantineis usually the practical maximum.
Moving directly to p=reject on a new domain risks blocking legitimate mail if any sending source is misconfigured.
Registrar-agnostic DMARC setup guide
The DMARC setup process is identical across GoDaddy, Namecheap, Cloudflare, and any other registrar. Create a TXT record with these values:
Host/Name:
_dmarcValue:
v=DMARC1; p=none; rua=mailto:dmarc@yourdomain.comTTL: 3600 or automatic
Replace dmarc@yourdomain.com with a real mailbox you monitor. Aggregate reports arrive as XML files, and most DMARC reporting tools parse them into readable dashboards.
Confirming correct DMARC record syntax
After saving the record, wait at least one hour and then run a DMARC lookup on MXToolbox. Confirm the v, p, and rua tags all resolve correctly. If the lookup returns "No DMARC record found," the record has not propagated yet or was saved under the wrong host name. The host name must be exactly _dmarc, not @ or blank.
Validating your DNS records
DNS setup is incomplete until you verify every record against live DNS. Syntax errors that look correct in a panel often fail in production because of hidden characters, wrong host names, or propagation delays. Run each validation step below before starting warmup or campaign sends.
For ongoing deliverability tracking, the Inframail campaign spam metrics guide explains how to read the signals that indicate authentication problems after launch.
Verifying SPF records via MXToolbox
Go to MXToolbox SPF Record Check and enter your domain name.
Click "SPF Record Lookup" and review the results. A green result confirms a valid, single SPF record.
Check the lookup count. If it exceeds 10, trim your
include:statements.Fix any red error flags before proceeding to campaign sends.
Testing DKIM configuration with MXToolbox
Go to MXToolbox DKIM Check and enter your domain name plus your selector name (e.g.,
selector1).Click "DKIM Record Lookup" and confirm the public key resolves and matches the key your sending platform uses.
Verify that the record returns no syntax errors.
Checking DMARC compliance using MXToolbox
Go to MXToolbox DMARC Check and enter your domain name.
Confirm the policy, version, and reporting address all display correctly.
Check that the host resolves as
_dmarc.yourdomain.com.
Expected timelines for DNS updates
DNS propagation times vary by registrar and TTL settings. Use MXToolbox to check propagation status in real time rather than waiting the maximum window.
Registrar | Typical propagation time |
|---|---|
Cloudflare | Minutes (Anycast global infrastructure) |
Namecheap | 30 minutes to 48 hours |
GoDaddy | A few hours to 48 hours |
General registrars | Up to 48 hours maximum |
TTL settings control how long DNS servers cache your records. Setting TTL to 300 seconds (5 minutes) during initial setup allows faster testing cycles.
Authentication setup checklist
Before launching any cold email campaign, confirm every item below is complete for each domain.
Single SPF TXT record published at
@with correctinclude:and~allSPF lookup count confirmed at 10 or fewer via MXToolbox
DKIM key pair generated (2048-bit preferred)
DKIM TXT record published at
selector._domainkeyDKIM selector name matches the selector your sending platform uses
DMARC TXT record published at
_dmarcwithp=noneand activerua=addressAll three records validated via MXToolbox with no errors
DNS propagation confirmed (Cloudflare propagates in minutes, most registrars within a few hours, up to 48 hours maximum)
Mail-Tester score of 9+/10 achieved from a warmed inbox
No blacklist hits confirmed via MXToolbox Blacklist Check
A 9+/10 Mail-Tester score confirms that authentication, content quality, and IP reputation all pass baseline inbox filters. Hitting that score consistently across 50-200 domains manually requires testing every domain individually, adding hours of operational work per client onboarding cycle.
Running your first Mail-Tester check
Go to mail-tester.com and note the test email address shown.
Send a plain-text email from the inbox you want to test to that address.
Return to Mail-Tester and click "Then check your score."
Review the breakdown. Authentication failures appear under SPF, DKIM, and DMARC sections.
Fix any flagged items and re-test after DNS propagation completes.
Quick fixes for authentication failures
SPF failure: Confirm you have exactly one SPF TXT record on the @ host and that the include: statement matches your sending server's published SPF range.
DKIM failure: Re-verify that the selector name in your DNS matches the selector your sending platform uses. Check the p= value for any missing characters.
DMARC failure: Confirm the record is published at _dmarc (not @) and that the rua= tag includes a valid mailto: address.
Content-based deductions: Keep test emails free of links, images, and spam trigger words for the most accurate authentication-only score.
Steps for rapid blacklist delisting
A blacklisted domain drops inbox placement rates to near zero. When a domain appears on a blacklist, follow these steps.
Identify the blacklist using MXToolbox Blacklist Check.
Stop all outbound sends from the affected domain immediately.
Submit a manual delisting request to the specific blacklist operator.
Wait 24-72 hours for the delisting to process.
Resume sending at reduced volume with clean, warmed traffic.
Inframail's deliverability dashboard monitors domain and IP health automatically and auto-submits delisting requests with a 68.3% success rate within 48 hours. For ongoing blacklist monitoring across large domain portfolios, the cold email infrastructure monitoring guide covers alert configurations and health check cadences.
Step-by-step domain authentication setup
Manual setup for 50 cold email domains is a 12+ hour operational task: logging into each registrar panel, creating SPF, DKIM, and DMARC records for every domain, waiting for propagation, and troubleshooting any failures. That time cost is a direct bottleneck for agencies onboarding new clients.
Inframail automates every step in that process. The platform configures SPF, DKIM, and DMARC automatically upon domain connection, provisions unlimited Microsoft email inboxes on dedicated US-based IPs, and exports IMAP (Internet Message Access Protocol) and SMTP credentials to CSV for direct import into Instantly.ai or Smartlead. Customer testimonials report setting up 10 inboxes in 2 minutes.
Agencies report substantial time savings from Inframail's automated setup process. GMass confirms Inframail was the first private cold email infrastructure company, registering its domain in November 2022.
"Compared to other ESP providers, using Inframail kinda feels like magic. As soon as you start the process of creating email accounts, it will automatically start adding all the records for you, and show you the process in real-time. I personally have over 1,000 email accounts with Inframail for one flat price. Adding all those records would have probably taken dozens of hours. Instead all records were added within 10 minutes." - Verified user review of Inframail
Total cost of ownership for 50 inboxes (annual)
Cost variable | Google Workspace | Mailforge | Inframail |
|---|---|---|---|
Platform fee | $350-420/mo | ~$150/mo | $129/mo |
Domain costs (~50 domains) | Separate | ~$14/domain/yr | $5-16/domain/yr |
Warmup tools | Separate | Partial | Separate (external) |
Annual total (est.) | ~$4,200-5,040 | ~$2,500 | ~$1,955 |
Note: warmup tool costs are additional on all platforms and not included in these platform-level figures.
Mailforge operates on a shared IP pool that distributes sending reputation across millions of mailbox accounts. The Maildoso alternatives comparison guide covers how shared IP infrastructure affects deliverability at agency scale, and the Mailreef vs. Inframail comparison provides a parallel look at dedicated vs. shared infrastructure trade-offs.
Authentication errors are the most common cause of sudden deliverability drops in cold email campaigns. Most errors trace back to syntax mistakes made during manual DNS entry.
Fixing common SPF errors
The most damaging SPF error is exceeding the RFC 7208 lookup limit of 10 DNS queries per SPF check. Every include: statement in your record triggers a query. If the total exceeds 10, the record returns a PermError and the SPF check fails permanently. Fix this by auditing your include: statements, removing any for sending services you no longer use, and consolidating multiple senders where possible.
Broken include: paths occur when a sending provider changes their SPF hostname without notifying customers. Check each include: statement by running an independent lookup on each referenced hostname and replace any broken paths with the current SPF hostname from your sending provider's documentation. Confirm all ip4: ranges use valid CIDR (Classless Inter-Domain Routing) notation, for example ip4:192.168.1.0/24 rather than a bare IP without a subnet mask.
Fixing invalid DKIM record signatures
DKIM signature failures in Instantly.ai or Smartlead typically mean the private key on the sending server does not match the public key in DNS. This happens when a new DKIM key pair is generated without updating the DNS TXT record, or when the DNS record is updated but the sending platform still uses the old private key. To fix it: delete the old DKIM TXT record in DNS, generate a fresh key pair in your sending platform, publish the new public key in DNS, wait for propagation, and retest with MXToolbox DKIM Check.
Fixing unprotected DMARC policies
A DMARC policy of p=none collects reports but takes no action on failing mail. This is correct during initial setup, but staying at p=none indefinitely leaves your domain open to spoofing without any enforcement. Once aggregate reports confirm all legitimate mail sources pass SPF and DKIM alignment, update the DMARC TXT record by changing p=none to p=quarantine, monitor aggregate reports for two additional weeks, and move to p=reject if no legitimate mail fails.
Resolving multiple SPF record conflicts
Two SPF TXT records on the same domain invalidate each other. The fix is always to merge them into a single record.
Incorrect (two conflicting records):
v=spf1 include:spf.protection.outlook.com ~all
v=spf1 include:sendgrid.net ~all
Correct (merged single record):
v=spf1 include:spf.protection.outlook.com include:sendgrid.net ~allDelete both original records in your DNS panel, add the single merged record, and verify with MXToolbox SPF Check after propagation.
For agencies who want the entire DNS setup handled automatically, sign up to Inframail and get started today. The platform configures SPF, DKIM, and DMARC automatically upon domain connection, provisions unlimited Microsoft inboxes on dedicated US-based IPs, and includes real-time propagation monitoring, all for a flat $129/month regardless of inbox count.
What are the mandatory records for email authentication?
SPF, DKIM, and DMARC are all mandatory for reliable inbox placement in 2026. Gmail has required all three for bulk senders since February 2024, and Microsoft followed for Outlook.com in May 2025, with non-compliant messages now rejected at the SMTP level.
How often should I audit my DNS records?
Audit all DNS authentication records quarterly, or immediately after any deliverability drop. Sending provider SPF includes can change without notice, and key pair rotations require DNS updates to stay current.
Can I share DNS records across domains?
No. Each domain must have its own unique SPF, DKIM, and DMARC records. DKIM uses domain-specific public-private key pairs, and SPF and DMARC policies apply only to the domain where they are published.
How do I fix invalid SPF and DMARC records?
Run a lookup on MXToolbox to identify the exact error, merge any duplicate SPF records, and trim include: statements to stay under 10 lookups. For DMARC, confirm the record is at the _dmarc host with correct v=DMARC1 and p= tags.
When can I expect better inbox placement after DNS setup?
Correct authentication takes effect within 1-48 hours of DNS propagation. Inbox placement rates then improve gradually over a 14-21 day warmup period as receiving servers build a positive reputation for your sending domain.
What are the main alternatives to Mailforge?
The primary alternatives to Mailforge include Inframail, Maildoso, Mailscale, and Zapmail. Inframail is the preferred choice for scaling agencies due to its flat-rate pricing and dedicated IP infrastructure, covered in depth in the Maildoso alternatives guide.
How does Mailforge pricing compare to its competitors?
Mailforge charges per mailbox slot, meaning costs scale linearly as you add domains, with the break-even point against Inframail's $129/month flat rate falling around 43 mailboxes. Above that threshold, Inframail's flat-rate pricing protects agency margins better as client count grows.
What are the key features of Mailforge?
Mailforge features include automated domain setup, shared IP pool distribution, and basic mailbox management, but it lacks the dedicated IP isolation and flat-rate economics that Inframail provides. Mailforge holds a 4.7/5 rating on G2 across 81 reviews.
Is Mailforge easy to set up and use?
Mailforge offers automated setup, but users must still manage per-mailbox billing and deal with the deliverability risks of shared IP pools. Inframail provides one-click setup that configures DNS and provisions unlimited inboxes on dedicated IPs automatically.
What do user reviews say about Mailforge's support and reliability?
Users cite ease of use as a strength, but shared IP contamination is a reported deliverability concern. Inframail addresses this with dedicated US-based IPs and 16 hours of daily priority support from real people, not bots.
For next steps after authentication is complete, the Inframail warmup guide for migrating inboxes and the Smartlead integration guide cover how to connect provisioned inboxes to your sending platform and build sender reputation from day one.
Cold email infrastructure: The combination of domains, mailboxes, servers, and DNS configurations used to send outbound email campaigns at scale.
Total cost of ownership (TCO): The complete financial cost of running email infrastructure, including platform fees, domain registration, warmup tools, and sending platforms.
Deliverability: The percentage of sent emails that successfully land in the recipient's primary inbox rather than the spam folder.
DNS configuration: The process of setting up domain records (like TXT, MX, and CNAME) to direct internet traffic and verify domain ownership.
Warmup: The process of gradually increasing email sending volume from 5-10 emails per day to full campaign volume over 14-21 days to build a positive sender reputation with email service providers.