Email Authentication Checklist for New Cold Email Domains: 15-Point Setup Guide
Use this 15-point email authentication checklist to set up SPF, DKIM, and DMARC for new cold email domains before launching campaigns.
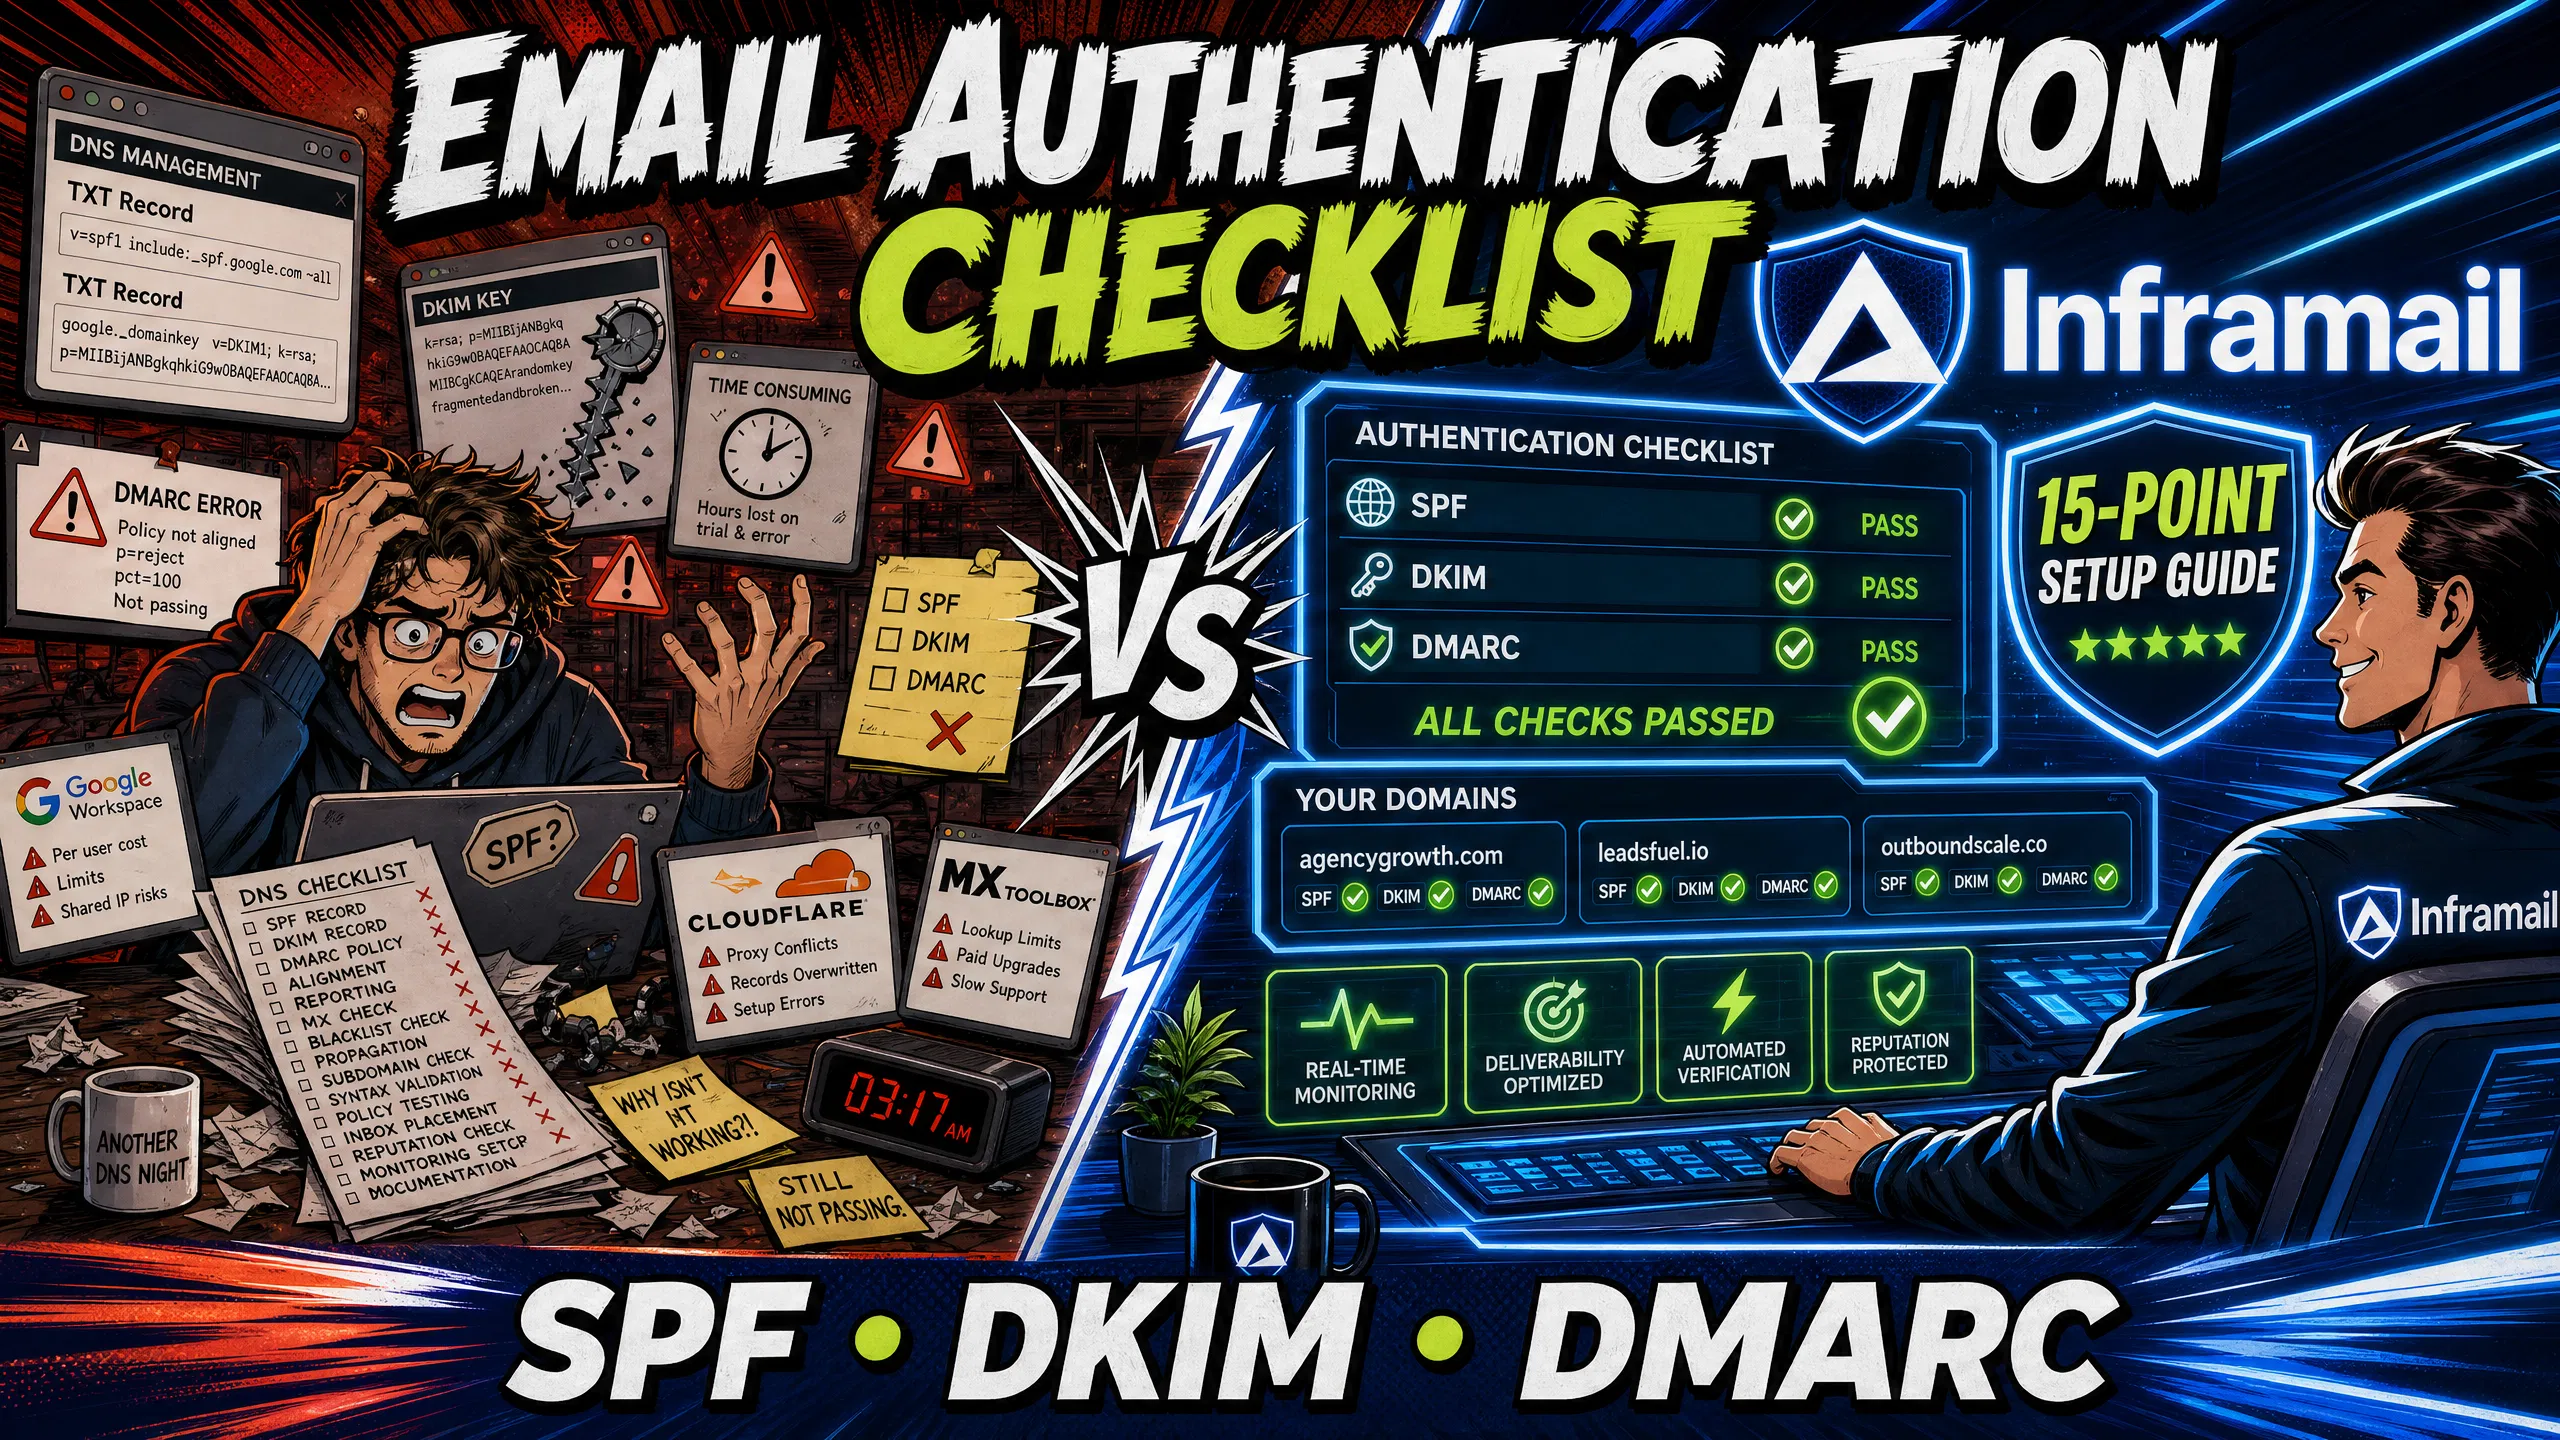
TL;DR: Setting up email authentication manually across dozens of cold email domains is a slow, error-prone process that drains agency margins. This 15-point checklist covers how to configure SPF, DKIM, and DMARC correctly to protect your sending reputation. Manual setup can be time-intensive for 50 domains, while automating this infrastructure with Inframail's flat-rate platform ($129/month) reduces setup time to minutes and saves over $250/month compared to Google Workspace. Proper SPF, DKIM, and DMARC records are essential for inbox placement on Gmail and Outlook at scale.
Every hour your operations team spends copy-pasting TXT records into Namecheap is an hour stolen from optimizing campaign copy and targeting. For agencies managing multiple cold email domains across multiple clients, manual DNS configuration can slow campaign launches.
Configuring SPF, DKIM, and DMARC is essential for keeping cold emails out of the spam folder, but manual setup across dozens of domains creates a major operational bottleneck. This 15-point checklist secures your domains quickly and shows how automation eliminates the manual work entirely.
The three pillars of email authentication (SPF, DKIM, and DMARC) work together to prove your email is legitimate. Think of SPF as a passport, DKIM as a wax seal, and DMARC as the instruction manual for customs officers. Each one plays a distinct role in authentication.
How SPF, DKIM, and DMARC protect sender reputation
SPF (Sender Policy Framework) is designed to check that the IP address of the sending server is authorized by the domain owner. The standard tells receiving servers which mail servers can send on behalf of your domain.
DKIM (DomainKeys Identified Mail) uses cryptographic signatures to prove email authenticity. The DKIM standard aims to ensure that the signature covers the From field, proving the signer owns the domain and that the From field has not been modified since signing.
DMARC (Domain-based Message Authentication, Reporting, and Conformance) ties SPF and DKIM together. The DMARC standard establishes how domain owners publish DNS policies specifying what receiving mail servers should do when authentication checks fail.
Preventing domain blacklisting
Missing or misconfigured records trigger spam filters on Gmail and Outlook almost immediately. A domain without a valid SPF record typically fails authentication checks. A domain without DKIM lacks cryptographic proof of message integrity. A domain without DMARC provides receiving servers with no policy guidance.
When a domain lands on a blacklist, deliverability suffers and campaigns can stall. Inframail's blacklist monitoring guide helps track domain and IP health.
Authentication impact on inbox placement rates
Proper authentication is the foundation of deliverability. Inframail's infrastructure scores 9.5/10 on Mail-Tester and 88% inbox placement via GMass testing. Watch Inframail's CEO walk through the SPF, DKIM, and DMARC setup process in two minutes to see what properly authenticated infrastructure looks like in practice. For a breakdown of dedicated IP performance versus shared pools, this dedicated IP vs shared IP video covers the key differences.
Before touching a single DNS record, complete these setup tasks to avoid configuration conflicts.
Configuring registrar account permissions
Log into your registrar (Namecheap, GoDaddy, or Cloudflare) and confirm you have full DNS edit access. If a client or colleague registered the domain, request editor-level access before starting.
Selecting your email hosting partner
This is where the cost math matters most. Google Workspace Business Starter costs $7 to $8.40 per user per month, depending on billing commitment. At that rate, the infrastructure bill scales linearly with every new inbox you create. The difference scales dramatically as you grow:
Inbox count | Google Workspace cost | Inframail cost (platform + domains) | Monthly savings |
|---|---|---|---|
50 inboxes | $420/month | ~$163/month ($129 + ~$34 domains) | ~$257/month |
100 inboxes | $840/month | ~$198/month ($129 + ~$69 domains) | ~$642/month |
200 inboxes | $1,680/month | ~$263/month ($129 + ~$134 domains) | ~$1,417/month |
External warmup (e.g., Warmbox, Lemwarm) | $15–$50/inbox/month | $15–$50/inbox/month | $0 (equal cost, no savings differential) |
Inframail's flat-rate $129/month Unlimited Plan covers unlimited inboxes on dedicated US-based IPs, and this infrastructure cost comparison shows how it stacks up against other providers, with domain costs running $5 to $16 per year through the platform. For context on how Inframail compares against other providers, the Maildoso alternatives guide covers pricing and feature differences in detail.
One important trade-off: Inframail does not include a built-in warmup tool. You will need an external warmup service like Warmbox or Lemwarm at $15 to $50 per inbox per month. Cold email infrastructure on Google Workspace requires the same external warmup cost, so the warmup line adds equally to both platforms and does not reduce the savings differential shown above.
Tools to track DNS record updates
Use MXToolbox to verify TXT records and check for syntax errors. DNS Checker can show propagation status across resolver nodes. Dmarcian and EasyDMARC offer SPF record analysis tools, including lookup count checks to help you stay within the 10-lookup limit.
Follow these five steps to build, publish, and validate your SPF record before moving on to DKIM.
1. Build your domain's SPF record
An SPF record typically starts with v=spf1, followed by authorized sending sources and an enforcement qualifier. A basic record for Microsoft-based infrastructure looks like this:
v=spf1 include:spf.inframail.io -all
The include: tag points to the sending service authorized to send mail on your behalf. The -all qualifier instructs receiving servers to reject mail that does not come from an authorized source. For active sending domains, consider using ~all (softfail) instead during initial configuration to reduce the risk of aggressive rejection.
2. Configure SPF in your DNS host (reference table for all three records)
In your registrar's DNS panel, create a new TXT record for your SPF entry. The table below also includes reference values for DKIM and DMARC so you have all three formats in one place. Full DKIM configuration is covered in Steps 6 to 10, and DMARC configuration is covered in Steps 11 to 13.
Record type | Host/Name | Value/Target | Purpose |
|---|---|---|---|
TXT | @ (root domain) | v=spf1 include:spf.inframail.io ~all | Authorizes sending service |
TXT | selector1.\_domainkey | v=DKIM1; k=rsa; p=\[public key\] | DKIM public key for verification |
TXT | \_dmarc.\[yourdomain.com\] | v=DMARC1; p=none; rua=mailto:dmarc@yourdomain.com | DMARC policy and reporting |
Inframail automates this entire process. Instead of logging into each registrar and copy-pasting records, the platform auto-configures SPF, DKIM, and DMARC records without any manual DNS panel work.
3. Validate your SPF record syntax
Common SPF problems include:
Multiple records on the same domain
Exceeding the 10-DNS-lookup limit
Syntax errors
Exceeding the 255-character TXT string limit
Choosing the wrong qualifier
A critical rule: a domain should have only one SPF record. If two v=spf1 TXT records exist on the same hostname, receiving mail servers typically treat this as a permanent error and may reject legitimate emails. Use MXToolbox's SPF checker to confirm you have a single, valid record before moving on.
4. Wait for DNS propagation
DNS changes do not take effect instantly. TTL (Time to Live) is the value in seconds that DNS resolvers cache your records before checking for updates. Propagation typically takes a few hours but can extend to 24 to 48 hours for full global propagation. Set a lower TTL (300 to 600 seconds) before making changes to speed up propagation, then restore a higher TTL after confirming records are live.
5. Test SPF record with Mail-Tester
Send a test email to your unique Mail-Tester address and check the SPF result in the report. Target a score of 8/10 or higher before importing domains into Instantly or Smartlead.
DKIM configuration typically requires two actions: publishing the public key in DNS and turning on DKIM signing in your email provider's dashboard. A common configuration mistake is completing only one of these two steps.
6. Retrieve DKIM keys for domain setup
Generate a public-private key pair in your email admin console. Supported key lengths include 1024, 2048, and 4096-bit keys. Use 2048-bit as the standard for cold email domains because it provides strong cryptographic signatures, though note that some DNS providers may have character limits that require splitting longer keys across multiple strings. In Microsoft 365, the platform typically generates two public-private key pairs when you enable DKIM signing on a custom domain, keeping private keys inaccessible by design.
7. Create DKIM TXT record in DNS
The DKIM DNS record typically uses a selector-based naming format:
<selector>._domainkey.<yourdomain.com>
For example: selector1._domainkey.yourcompany.com
Add this as a TXT record in your DNS panel with the public key value in the record body. Watch the 2-minute inbox setup video to see DKIM record creation alongside SPF and DMARC in a live demo.
8. Copy public key without formatting errors
DKIM keys are long strings that break easily during copy-paste. Common errors include embedded newline characters in the key value and a missing p= tag. Paste the key into a plain-text editor first, strip any line breaks, then paste the cleaned value into your DNS record.
9. Enable DKIM signing in email settings
Creating the DNS TXT record is not enough. You must also activate DKIM signing inside your email provider's admin console. Until you turn on DKIM signing, outgoing messages carry no signature and the public key in DNS goes unused. This is a two-step process: DNS record first, then the toggle in the provider dashboard.
10. Verify active DKIM keys for domains
After propagation, use GlockApps or MXToolbox's DKIM lookup to confirm outgoing messages carry valid signatures. Send a test email and inspect the raw message headers for a DKIM-Signature header. A valid signature typically shows dkim=pass in the Authentication-Results header of received messages.
DMARC is the record that ties SPF and DKIM together and gives domain owners control over what happens when authentication fails. Rushing to a strict policy on day one is the most damaging mistake in this entire checklist.
11. Create DMARC record with monitoring policy
Start with p=none to collect data without affecting delivery. This monitor-mode record looks like this:
v=DMARC1; p=none; rua=mailto:dmarc@yourdomain.com
The v=DMARC1 tag must appear first in the record, and the p tag is required. Other tags can follow in any order, though placing the p tag second is clearest. For a full infrastructure setup walkthrough, the ultimate cold email infrastructure guide covers DMARC rollout in context.
12. Set up DMARC reporting email address
The rua tag in your DMARC record specifies where receiving servers send aggregate reports. Create a dedicated mailbox for these reports (e.g., dmarc@yourdomain.com) so they do not clutter your primary inbox. Dmarcian parses these reports into readable dashboards, showing which sources pass and fail authentication on your domains. Collect several weeks of report data before changing your DMARC policy.
13. Set DMARC to reject or quarantine
After confirming that all legitimate sending tools (your cold email platform, CRM, calendar booking tools) pass authentication consistently, tighten the policy in two stages:
Weeks 3 to 6: Move to
p=quarantineonce aggregate reports show your legitimate sending sources consistently pass SPF or DKIM alignment. Start atpct=10to apply the policy to 10% of failing mail, then gradually ramp to 100%.Weeks 7 to 12: Move to
p=rejectafter confirming a DMARC compliance rate above 98% across all critical sending streams, blocking failing messages entirely. One critical warning: email forwarding breaks SPF alignment because the forwarding server's IP does not appear in your SPF record. Analyze your DMARC reports carefully before enforcing rejection to avoid blocking legitimate replies.
These final two steps confirm your records are live, aligned, and performing correctly before any sending begins.
14. Audit your SPF, DKIM, and DMARC
Run a full audit using Mail-Tester or GlockApps to verify all three records are aligned and active. Target a score of 8/10 or higher before launching any cold email sequence.
Inframail's help center guide on identifying spam placement issues breaks down what healthy metrics look like in practice.
15. Check delivery to Gmail and Outlook
Manual seed list testing is the final verification step. Send test emails to seed accounts on Gmail and Outlook and check whether they land in the primary inbox, promotions tab, or spam folder. GMass runs this test automatically and reports inbox, spam, and tab placement percentages across multiple email clients. Target strong inbox placement on both Gmail and Outlook before you import credentials into your sending platform.
Confirming SPF, DKIM, and DMARC settings
Before launching campaigns, run through this final verification checklist:
SPF record exists as a single TXT record on the root domain
SPF includes your sending platform and ends with
~allorallSPF total DNS lookups are 10 or fewer (verify with MXToolbox)
DKIM TXT record is published with the correct selector and no formatting errors
DKIM signing is enabled in the email provider's admin console
DMARC TXT record exists at
_dmarc.yourdomain.comDMARC policy is set to
p=nonefor monitoring on new domainsMail-Tester score is 8/10 or higher
Domain is not listed on major blacklists
Rolling out authentication in the wrong order, or moving too fast to strict enforcement, breaks campaigns mid-send. Follow this timeline for each new domain batch.
Day 1: Securing domains with SPF/DKIM
Publish SPF and DKIM records immediately after domain purchase. Inframail configures both automatically as part of the domain setup process, completing the DNS configuration instantly. The Inframail setup tutorial shows the full workflow from domain purchase to inbox credential export in a single screen recording.
Day 2-3: Verifying DNS propagation
Monitor propagation using MXToolbox to confirm records are live globally. Do not start warmup until you confirm SPF and DKIM are active on both your local resolver and at least three external DNS nodes. Inframail's help center guide on choosing the right sending plan covers how to calculate sending capacity before going live.
Day 4-7: Implementing DMARC policies
Add the p=none DMARC record after confirming SPF and DKIM have propagated. This starts your DMARC reporting period. You need several weeks of aggregate report data before drawing firm conclusions about authentication failures, because monthly or quarterly sending tools may not appear in early reports. For B2B SaaS companies setting up infrastructure from scratch, this B2B cold email infrastructure setup video covers the DMARC monitoring phase in detail.
Week 3+: Full DMARC enforcement steps
Follow the two-stage enforcement sequence in Step 13 after reviewing aggregate reports and confirming all legitimate sending sources pass authentication consistently.
Each of the following mistakes is common enough to appear across both new and experienced senders, and each one directly affects deliverability.
Correcting SPF records for inbox health
The SPF specification limits DNS lookups to 10 per SPF check. Mechanisms like include:, a, mx, ptr, and exists typically count toward this limit. When you exceed the limit, receiving servers may return a PermError result, which DMARC can treat as a fail. Use MXToolbox's SPF lookup tool to count your current lookups before adding new sending services. The ip4: and ip6: mechanisms generally do not count against the limit, so converting include: tags to direct IP ranges where possible can reduce your lookup count.
Fixing DKIM syntax and record errors
Common errors that cause DKIM failures include truncated public keys caused by DNS panel character limits splitting the key across multiple strings, and embedded newline characters copied from formatted documents. Always paste DKIM key values into a plain-text editor, remove all line breaks, and verify the p= tag is present before publishing. The cold email infrastructure monitoring guide covers how to track domain and IP health after setup.
DMARC policies that are too strict too soon
Deploying p=reject without proper analysis is one of the most damaging mistakes in DMARC implementation. Without aggregate report data, you have no visibility into which sending sources fail authentication. Potential failure scenarios can include third-party services using their own Return-Path domain, which may cause SPF alignment issues even when the sending IP is legitimate. Start with p=none, collect reports across multiple weeks, and only tighten enforcement after reviewing the data.
Verifying DNS records before cold outreach
Run a complete MXToolbox scan on every domain before importing credentials into Instantly or Smartlead. This prevents campaigns from launching with unverified records, which can cause immediate deliverability failures and put the domain's sending reputation at risk. The Inframail to Smartlead integration guide covers the full credential export and import workflow.
Separating subdomain authentication from root domain records
SPF and DKIM do not inherit from the root domain to subdomains, so each sending subdomain requires its own SPF and DKIM records. DMARC on the root domain typically covers subdomains that lack their own DMARC record, and you can use the sp= tag in the root DMARC record to set a separate policy for subdomains. Only configure separate authentication records for subdomains you actually use for sending.
Sign up to Inframail and automate this entire checklist across unlimited domains at a flat $129/month, rather than configuring each record manually across a growing stack of client domains.
How long does DNS propagation take after adding SPF, DKIM, or DMARC records?
Propagation can take anywhere from minutes to 24 to 48 hours depending on your TTL settings and registrar. Step 4 covers how to set a lower TTL before making changes to reduce propagation time.
Can I launch cold email campaigns before DMARC is configured?
No. Major email providers now enforce stricter authentication requirements for bulk senders, and launching without DMARC risks immediate placement failures on Gmail. Configure SPF and DKIM first and ensure they authenticate messages for at least 48 hours, then add a p=none DMARC record as a minimum requirement before any sending begins.
What happens if I have two SPF records on the same domain?
Two SPF records on the same hostname typically cause a permanent error (PermError), which DMARC treats as an SPF fail. Delete the conflicting record immediately and keep only one v=spf1 TXT record per hostname.
Do subdomains need their own SPF and DKIM records?
Yes. See the subdomain authentication pitfall in the "Avoid these 5 common DNS configuration pitfalls" section for the full breakdown, including how to use the sp= tag for subdomain-specific DMARC policies.
How many DNS lookups does an SPF record allow?
The SPF specification caps DNS lookups at 10 per check, and exceeding this limit returns a PermError that causes DMARC to treat SPF as a fail. The ip4: and ip6: mechanisms do not count against this limit, while include:, a, mx, ptr, and exists all count toward it.
Does Inframail include email warmup?
No. Inframail does not include a built-in warmup tool and requires an external service like Warmbox or Lemwarm at $15 to $50 per inbox monthly.
SPF (Sender Policy Framework): A DNS TXT record that specifies which mail servers are authorized to send email on behalf of a domain, defined in RFC 7208. Receiving servers check the sending IP against the SPF record before delivering or rejecting the message.
DKIM (DomainKeys Identified Mail): A cryptographic email authentication standard defined in RFC 6376 that adds a digital signature to outgoing messages. The signature ties the email to the sending domain and verifies that message content was not altered in transit.
DMARC (Domain-based Message Authentication, Reporting, and Conformance): A DNS policy record defined in RFC 7489 that specifies what receiving servers should do when SPF or DKIM checks fail. DMARC also enables aggregate reporting showing which sources send mail on behalf of your domain.
Dedicated IP: An IP address assigned exclusively to one sender's email infrastructure, rather than shared with other users. Dedicated IPs mean your sending reputation is determined entirely by your own sending behavior, not by other users on the same IP pool.
DNS propagation: The process by which updated DNS records spread across global DNS resolvers after a change is published at the registrar level. Propagation typically takes 15 minutes to 2 hours but can extend to 48 hours in some cases.
SPF PermError: A permanent error returned by receiving mail servers when an SPF record has a critical issue, most commonly exceeding the 10-DNS-lookup limit or containing a syntax error. DMARC treats all SPF permanent errors as authentication failures.
DMARC alignment: The requirement that the domain in the From header matches either the SPF-authenticated domain or the DKIM-signed domain. Alignment connects SPF and DKIM results to the domain your recipients actually see.
Inbox placement rate: The percentage of sent emails that land in the primary inbox rather than the spam folder or promotional tabs. A properly authenticated domain on a dedicated IP achieves 88% inbox placement via GMass testing across Gmail and Outlook.